
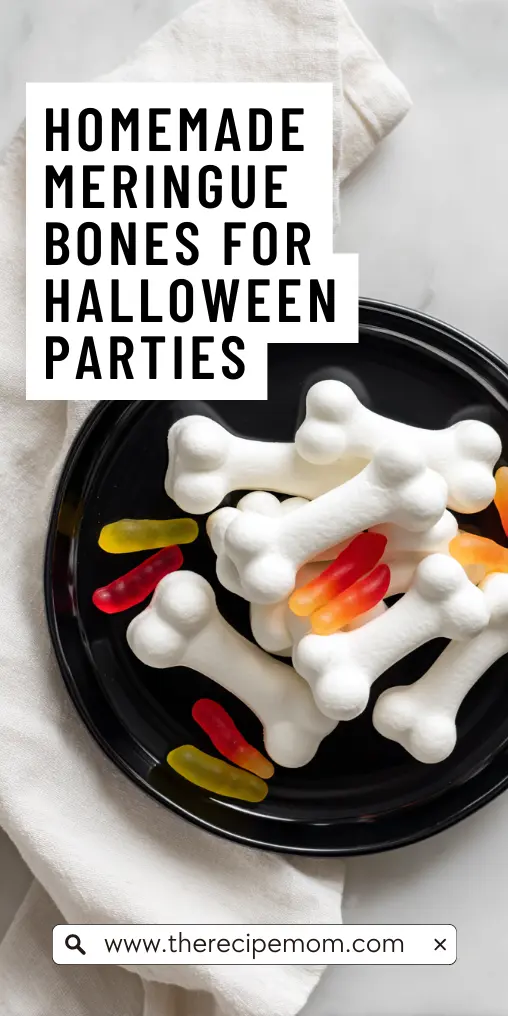
Homemade Meringue Bones for Halloween Parties
02/09/2025
Two weeks ago, I was scrolling through Pinterest at midnight (you know how that goes) when I stumbled across the most adorable Halloween meringue bones. They looked so realistic and spooky-cute that I immediately saved the pin and texted my sister a screenshot with “I HAVE TO MAKE THESE!”
The next morning, over coffee, my husband looked at my phone and said, “Those look way too fancy for our skill level. Remember the macaroon disaster of last Christmas?” He had a point – my track record with delicate baked goods isn’t exactly stellar. But something about these meringue bones just called to me.
I decided to test them out before our neighborhood Halloween party this weekend. Saturday afternoon, I whipped up my first batch, carefully piping bone shapes with my decorating bag. The first few looked more like weird white hot dogs than bones, but by the end, I was getting the hang of it.
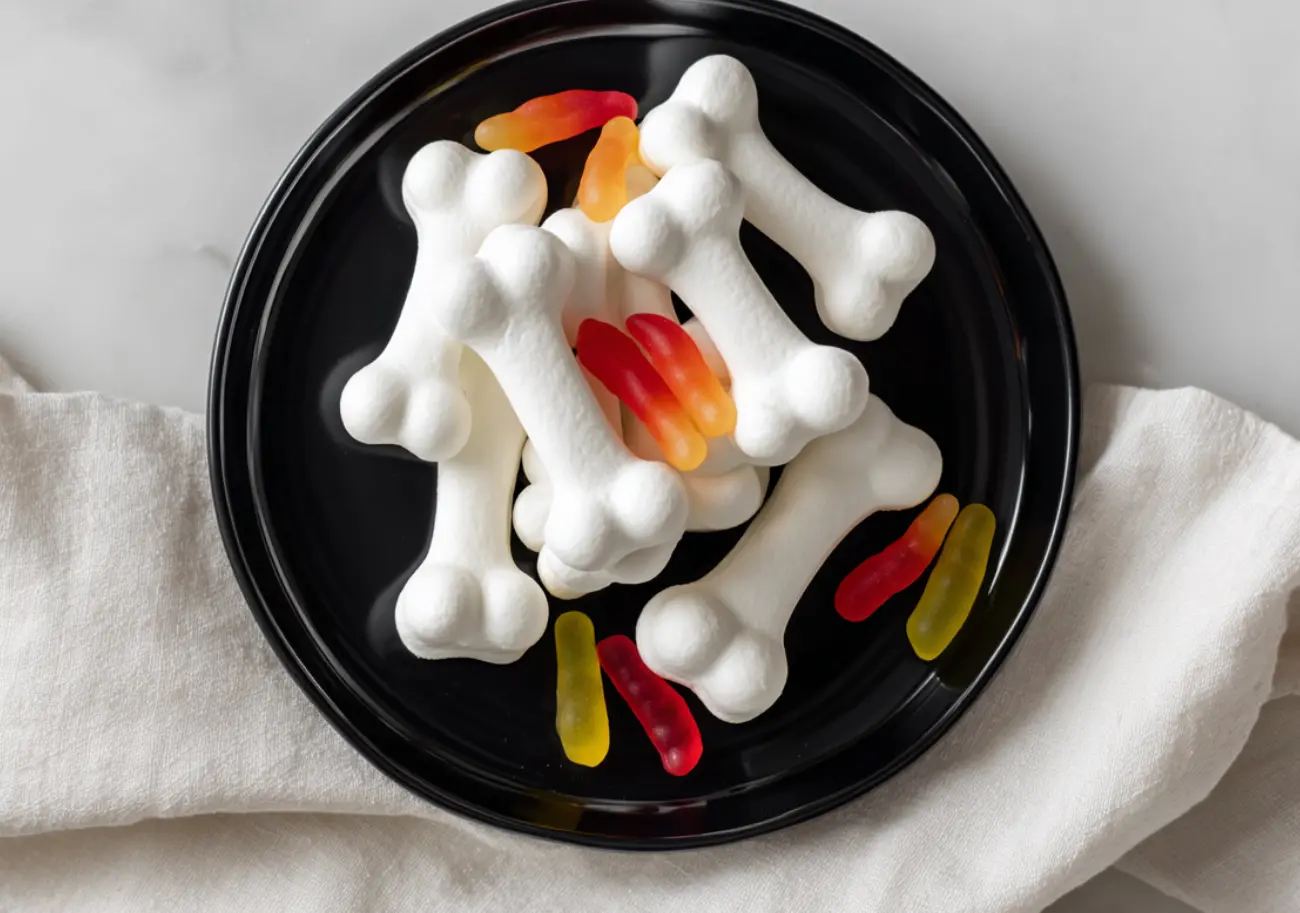
When I pulled them from the oven after their long, low bake, they were perfectly crisp and actually looked like tiny skeleton bones! My kids came running into the kitchen when they heard me squealing with excitement. “Mom, those are so cool!” my youngest said, reaching for one immediately.
The best part? They taste incredible – light, sweet, and they dissolve on your tongue like sweet clouds. My husband, who was so skeptical earlier, ended up eating three of them while “quality testing” and said, “Okay, I take back what I said about Pinterest projects.”
Now I’m making a triple batch for our party this weekend, and I’m already planning to package some in little cellophane bags as take-home treats. Sometimes those late-night Pinterest finds really do turn into the perfect party showstoppers.
| COOK TIME | TOTLA TIME |
|---|---|
| 1 hr 30 minutes | 2 hrs |
What Are Meringue Bones?
Meringue bones are a playful little treat that look spooky but taste sweet and delicate. They’re made with just a few simple ingredients—egg whites, sugar, and a touch of cream of tartar—whipped together until stiff peaks form. The mixture is then piped into bone shapes and baked low and slow until they’re crisp all the way through. The result is a cookie that’s light as air and melts on your tongue, while looking like something straight out of a Halloween display. They’re fun to make with kids, easy to customize, and perfect for adding to any October party table.
Why Make Meringue Bones at Home?
The reason I love making meringue bones at home is how much fun they bring to Halloween. They look impressive, but they only need three ingredients and a little patience in the oven. Shaping them into bones feels almost like a craft project, and the kids love helping pipe the dough onto the trays. Once they’re baked, they’re crisp, sweet, and light, and people can’t believe they came from your own kitchen. Making them yourself means you can prepare extra for parties, package them as gifts, or just enjoy them as a silly and tasty way to celebrate the season.
Key Ingredients in This Meringue Bones
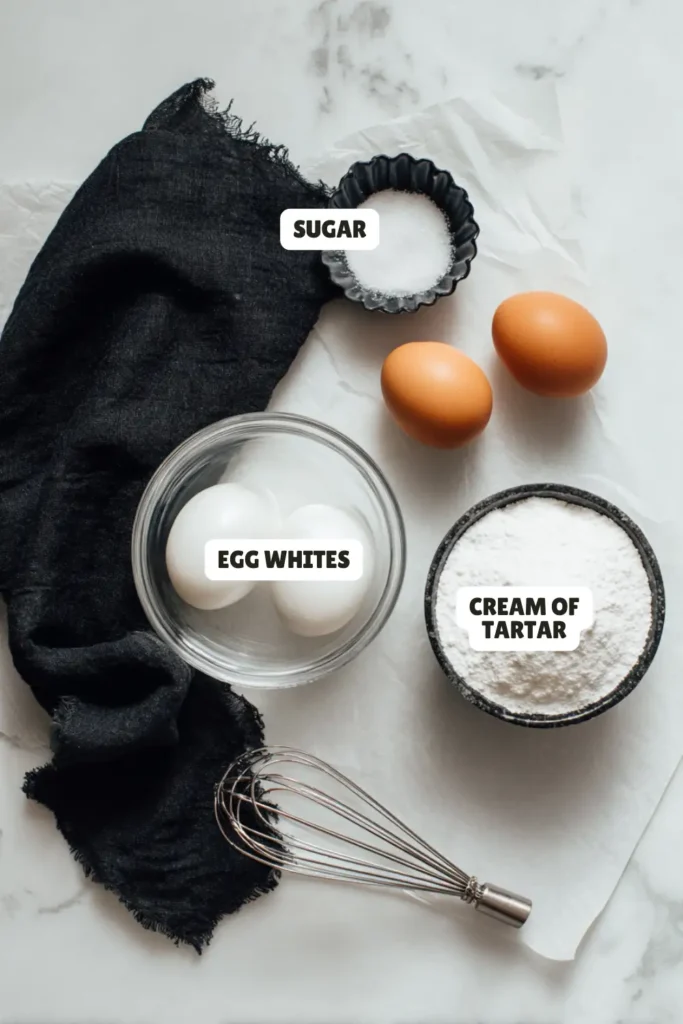
- Egg whites – whipped into stiff peaks for the base of the meringue
- Cream of tartar – helps stabilize the egg whites while whipping
- Sugar – adds sweetness and structure to the meringue
Tips for Perfectly Crispy Meringue Bones
- Use room temperature egg whites – they whip up with more volume.
- Make sure your bowl is clean and dry – even a little grease can stop the whites from whipping.
- Add sugar slowly – one spoonful at a time so it dissolves fully.
- Beat until stiff peaks form – the mixture should stand tall without drooping.
- Pipe evenly – keep the “bones” the same size so they bake at the same rate.
- Bake low and slow – around 225°F to dry them out without browning.
- Cool completely before storing to keep their crisp texture.
Kitchen Equipment Needed
- Mixing bowl – clean and dry for whipping egg whites
- Electric hand mixer or stand mixer – to beat the whites until stiff peaks form
- Measuring cups and spoons – for sugar and cream of tartar
- Rubber spatula – for scraping down the sides of the bowl
- Piping bag or resealable plastic bag – to pipe the bone shapes
- Parchment paper – to line the baking sheets
- Baking sheets – flat trays for baking the meringues
- Wire racks – to cool the baked bones completely before storing
How to Serve Meringue Bones with Spooky Treats
Serving meringue bones is half the fun, especially when you mix them in with other Halloween treats. I like to pile them onto a platter with bowls of gummy worms, chocolate spiders, or candy pumpkins for a playful display. Sometimes I’ll stick a few into a frosted chocolate cake to look like bones poking out, which always makes the kids laugh. They also pair well with mugs of hot cocoa or apple cider for a cozy October night. If I’m hosting a party, I’ll package a few in clear bags tied with ribbon so guests can take them home.
Variations and Substitutions
- Flavor twist – add a drop of vanilla, almond, or peppermint extract to the meringue.
- Color change – tint the mixture with gel food coloring for colorful “bones.”
- Chocolate drizzle – add melted white or dark chocolate over baked bones.
- Dusting – sprinkle cocoa powder or edible glitter before baking for a fun finish.
- Shape swap – pipe into ghosts, pumpkins, or witch hats instead of bones.
- Sugar substitute – use superfine sugar for a smoother texture, or try a sugar alternative if preferred.
- Mini version – make smaller bite-sized bones for party trays.
How to Store Meringue Bones for Freshness
The best way to keep meringue bones fresh is to store them carefully once they’ve cooled. I place them in an airtight container, layering parchment paper between rows so they don’t stick together. They stay crisp at room temperature for about a week as long as they’re kept away from moisture. If I’m making them ahead for a party, I’ll bake them a few days early and store them this way until needed. Freezing isn’t the best option since it can change the texture, so I stick with airtight containers on the counter to keep them light and crunchy.
Frequently Asked Questions
Can I make them ahead of time?
Yes, bake a few days early and store in an airtight container at room temperature.
Do I need a piping bag?
No, a resealable plastic bag with the corner cut off works just fine.
Why are my meringues sticky?
It usually means there was too much humidity or they weren’t baked long enough.
Can I add flavoring?
Yes, a drop of vanilla, almond, or peppermint extract works well.
How do I keep them white?
Bake at a low temperature so they dry out without browning.
Don’t Miss More Recipes
Ingredients
Adjust Servings
| 2 large egg whites room temperature | |
| 1/8 teaspoon cream of tartar | |
| 1/2 cup sugar |
Nutritional Information
Directions
Step 1
Step 2

Leave a Reply